App Container
The App Container folder provides an already styled and configured navigation system with the navbar and status message functionality included. This is useful for when you are first starting out with your app and you would like to have the navbar already hooked up to the app.
Wit the App Container you can simply pass in different views as props and the navbar will be automatically configured and hooked up to their pages accordingly based on the specifications outlined in the prop configs.
As an example, consider an entrypoint for your app called index.jsx. Consider you have 3 page containers representing 3 separate views of the app, each with its respective render() function:
- Dashboard one could do this like so:
- List
- EmptyState
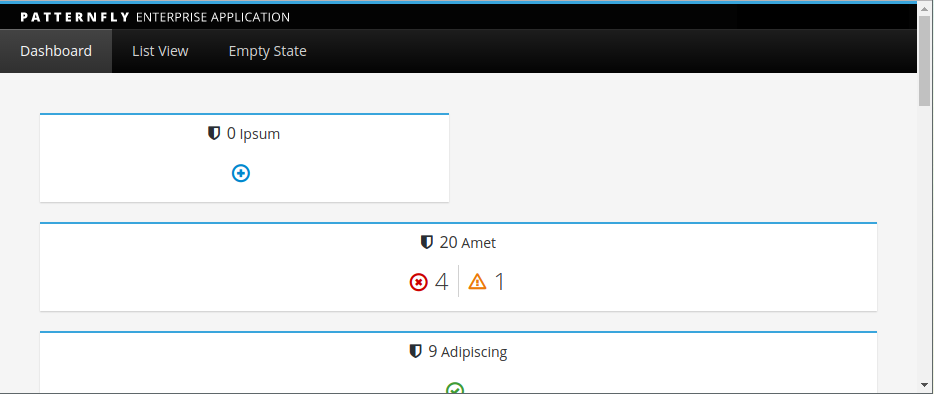
By passing the containers as props to the appContainer, we can quickly set up an app that will look as follows (note the actual page contents underneath the navbar will vary depending on the containers passed as props):
There are two containers that will need to be configured to hook up your views to the App Container:
- Navbar Config
- Views Config
The configs will be passed in as props into the index.jsx (or your entrypoint).
Navbar Configuration
The App Container requires that a navbar configuration be passed in as a prop so that it knows how set it up. An example Navbar configuration is shown below:
let navbarConfig = {
  // The different tabs and the links to where they are routed to.
  categories: [
    {title: 'Dashboard', link: '/'},
    {title: 'List View', link: '/listView'},
    {title: 'Empty State', link: '/emptyState'},
  ],
  // The title image placed at the top, above nav.
  titleSrc: {
    path: '../static/build/img/brand.svg',
    alt: 'Patternfly Demo App'
    useImage: true,
    // if useImage is false, then add alt is used as title,
    // if you would like to set a jsx title element, add a new field 'title'
    // e.g. title: <h1>Patternfly Demo APP</h1>
  }
categories are the tab categories that will be shown on the Navbar, it is an array of objects which contain the title of the category and path to which it will route to. The titleSrc is the path to a title image that will display at the top right of the navbar.
Note: that your server will also need to handle these routes by serving the same base html as done so for '/', for example in flask one might accomplish this by doing:
@app.route("/")
@app.route("/listView")
@app.route("/emptyState")
def home():
    return render_template('index.html')
Views Configuration
After the Navbar config you will also need to pass a prop that contains the actual container components and the path to which they will map to. These should be a 1:1 mapping with routes included in the Navbar config:
let viewsConfig = [
  // Insert views and their path mappings
  {component: dashboardView, path: '/'},
  {component: listView, path: '/listView'},
  {component: emptyStateView, path: '/emptyState'}];
The components dashboardView, listView and emptyStateView are imported containers in this example.
Once you have the configs, you can create your app just as you would any react component:
 render (
  <Provider store={store}>
    <App viewsConfig={viewsConfig} navbarConfig={navbarConfig}/>
  </Provider>, document.getElementById('root')
);
The final index.jsx will then look something like as follows:
// Components
import dashboardView from "./dashBoardView/containers/dashboardView.jsx";
import listView from "./listView/containers/listView.jsx";
import emptyStateView from "./emptyStateView/containers/emptyStateView.jsx";

let viewsConfig = [
  // Insert views and their path mappings
  {component: dashboardView, path: '/'},
  {component: listView, path: '/listView'},
  {component: emptyStateView, path: 'emptyState'}];

let navbarConfig = {
  // The different tabs and the link to where they are routed to.
  categories: [
    {title: 'Dashboard', link: '/'},
    {title: 'List View', link: '/listView'},
    {title: 'Empty State', link: '/emptyState'},
  ],
  // The title image placed at the top, above nav.
  titleSrc: {
    path: '../static/build/img/brand.svg',
    alt: 'Patternfly Demo App'
  }
};

render (
  <Provider store={store}>
    <App viewsConfig={viewsConfig} navbarConfig={navbarConfig}/>
  </Provider>, document.getElementById('root')
);
The last thing that remains is to add the reducers to your store, the following reducers will need to be added:
- modalReducer
- messageReducer
Ensure dependencies and the required css styling is included.